Smart Wishlist Integration Guide
📖 Smart Wishlist is the next generation wishlist for Shopify Stores, which is really simple to use and the wishlist can be created with one-click. Here is our guide for integration between Smart Wishlist and Boost AI Search & Discovery.
In this article
About Smart Wishlist
1
App Information
- Smart Wishlist enables your customers to create a wishlist without user registration or login.
- App details: https://apps.shopify.com/smart-wishlist
2
Smart Wishlist Integration Benefit
- Navigating to the exact product and bookmark it anytime with the wishlist heart icon on product items.
How to integrate Smart Wishlist with Boost AI Search & Discovery
This feature only works with Boost AI Search & Discovery V2 and above. To find out which version of our app your store's current theme is installed with, please follow this article.
From your Shopify admin, go to Online Store > Themes.
Find the theme you'd like to integrate the app and click Actions (⋯) > Edit code.
Select one of the Versions below for the app version that your theme is installed with (if you have not known it, yet, please follow this article to find out): V2 or V3. Then follow its corresponding Step 3.
V2
ProductList.prototype.afterRender
if (data.event_type != 'init' && typeof ReloadSmartWishlist !== 'undefined') { ReloadSmartWishlist(); }
After completing Step 4, if the Smart Wishlist does not show up, please follow the next steps below:
ProductGridItem.prototype.compileTemplate
&
ProductListItem.prototype.compileTemplate
var wishListHtml = '<span class="smartwishlist" data-product="'+ data.id +'" data-variant="'+ data.variants[0].id +'"></span>';
itemHtml = itemHtml.replace(/{{itemWishlist}}/g, wishListHtml);
productGridItemHtml
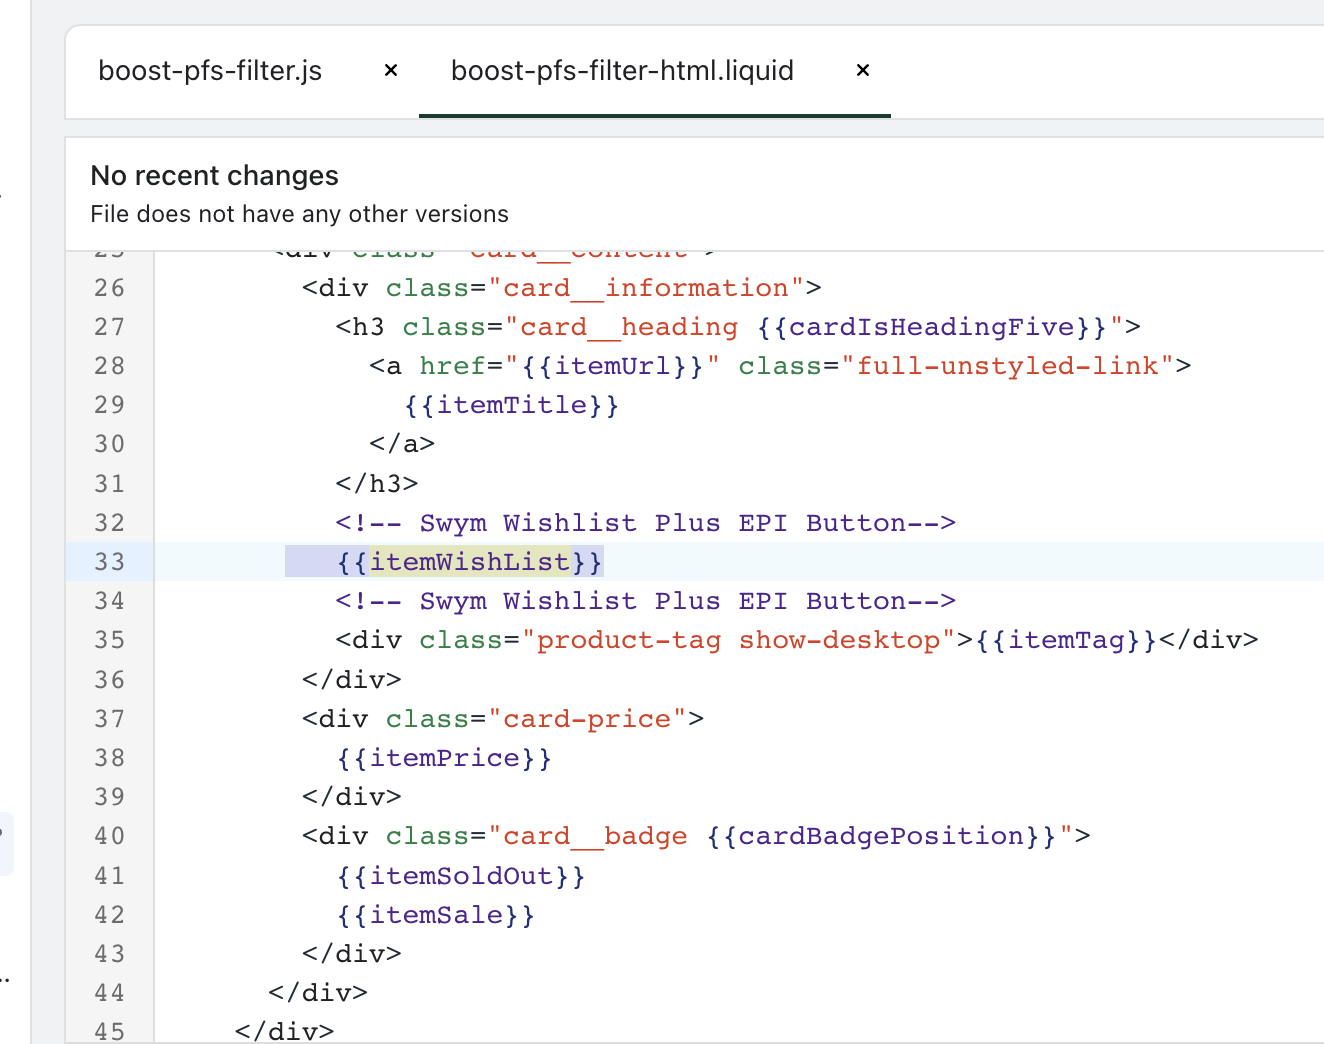
{{itemWishlist}}
V3
if (window.boostSDAppConfig) {
window.boostSDAppConfig.integration = Object.assign({
wishlists: 'smart'
}, window.boostSDAppConfig.integration || {});
}
If you encounter any issues during the integration process, please don't hesitate to contact our support team for further assistance at support@boostcommerce.net.